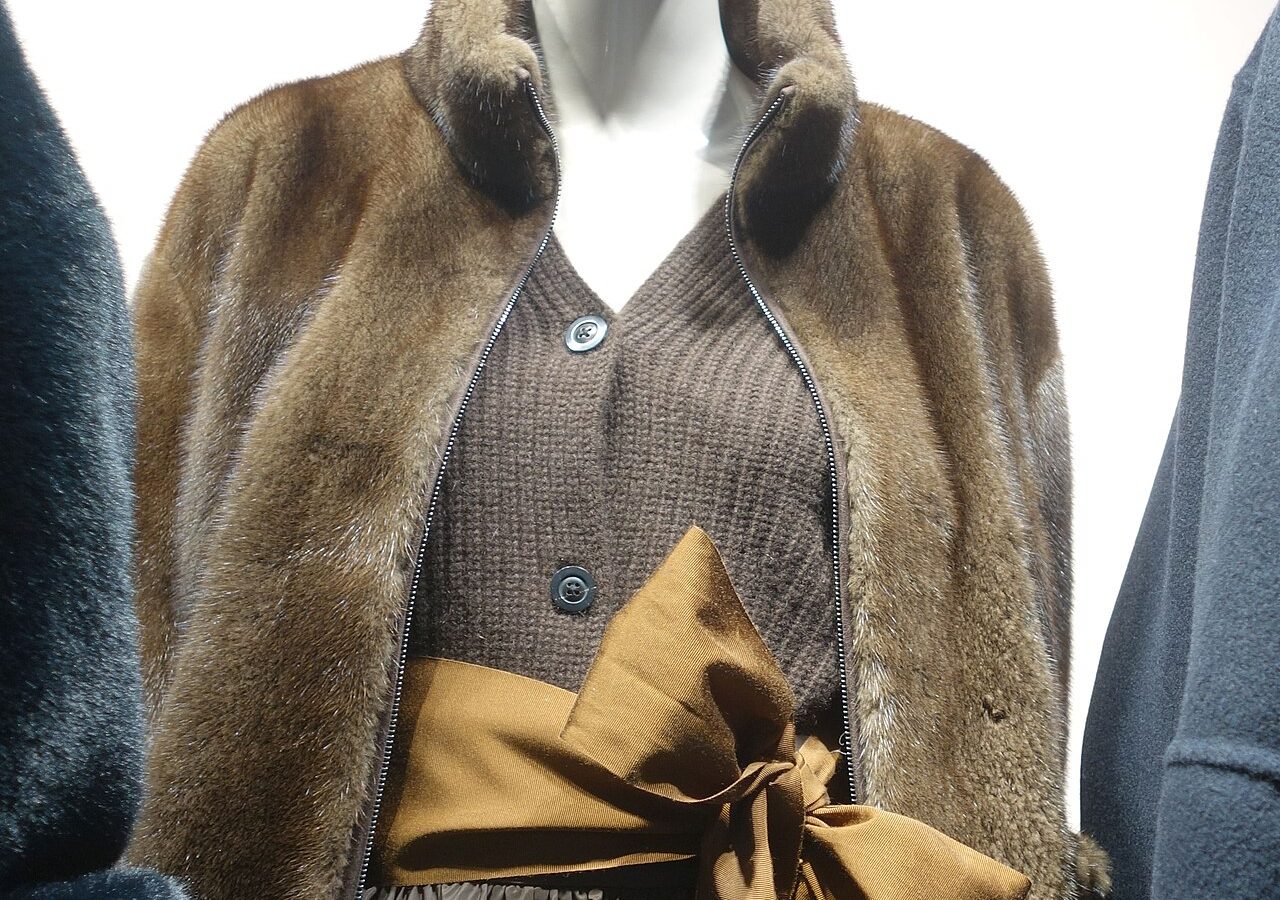
Replacing a Zip Pull Instead of Throwing the Jacket Away
A jacket with a broken zip pull gets thrown away about as often as it gets repaired, and the repair takes four minutes. The zip itself is usually fine. It is the small metal tag you grip that has snapped off, and that is the cheapest part in the whole garment.
Diagnosing which failure you have
A missing pull is the easy case. The slider is still on the tape, the teeth are intact, and you simply need something to grip.
A slider that has opened up is harder but fixable. The channel has spread, so the teeth do not interlock behind it. Squeezing the slider with pliers often restores it for months.
Missing teeth near the bottom, or a tape that has torn away from the fabric, is a bigger job. That is a zip replacement and it needs a sewing machine or a tailor.
The pull replacement, step by step
Buy a pack of replacement pulls. They cost a few dollars for a mixed set and they come in three or four sizes.
Open the split ring or the small clip on the new pull, hook it through the hole in the slider, and close it again with pliers. That is the entire repair.
If the new pull has a closed loop rather than a clip, you will need to open the slider slightly, thread it, and squeeze it back. Slightly more fiddly but still under ten minutes.
What to do if the slider has spread
Move the slider to the bottom of the zip. Grip it with pliers across the widest part and squeeze gently. A quarter turn of pressure is enough; too much and you crush the channel shut.
Test it by zipping up. If it still splits behind the slider, squeeze a little more. If it jams, you have gone too far and need a new slider.
A small drop of silicone lubricant on the teeth helps enormously, especially on outdoor jackets. Do not use oil, which attracts grit and stains fabric.
Tools worth having
Small needle-nose pliers and a pair of wire cutters cover almost everything. A seam ripper helps if you need to open stitching to reach the slider.
A cheap set of replacement pulls in mixed sizes is the single most useful purchase here. Buy once and you will fix every zip in the house over the next few years.
Keep them together in the repair kit rather than in a toolbox in the shed. The repair only happens if the parts are within reach when the zip fails.
When to give up and replace the zip
If more than two teeth are missing in the middle of the run, the zip will always be a weak point. Replacement is the honest fix and a tailor will charge somewhere between twenty and forty dollars.
That is still usually cheaper than a new jacket, especially on outerwear where the fabric outlives the hardware by years.
If the tape has torn away from the shell along a seam, a tailor can usually re-stitch it. If the fabric itself has ripped, the repair becomes visible and the decision is more about how much you care.
The wider point
Zips fail before fabric does, almost universally. That means a wardrobe full of otherwise sound garments gets discarded over a component that costs less than a coffee.
Learning this one repair changes how you see every broken zip. It stops being a reason to shop and starts being a twenty minute job for a wet afternoon.
And it is genuinely easy. There is no technique to get wrong, no risk of making it worse, and the parts are cheap enough to experiment with.
Fixing a zip that keeps splitting
A zip that opens behind the slider is not broken, it is loose. The slider channel has widened with use and the teeth no longer mesh. Squeezing the slider is the standard fix and it works more often than people expect.
Use pliers, not mole grips, and squeeze across the top and bottom faces rather than the sides. A gentle quarter turn is enough. Test after each squeeze rather than doing several at once.
If the slider still will not hold, replace it. Sliders are sold separately and cost very little, though fitting one properly needs a little patience with the tape.
Lubricate afterwards with silicone or a pencil graphite. Most zip failures are wear plus grit, and the grit part is entirely preventable.
Where to find the parts
Replacement pulls and sliders are sold in mixed packs at sewing shops and online for a few dollars. Buy a pack that includes the size stamped on your slider, which is usually a number between three and ten.
Find one garment with a broken pull and fix it this week. If you do not have one, buy a pack of pulls anyway and put them in the repair kit. The next failure is coming, and being ready turns it from an expense into an errand.